

Some links on this post may link to affiliate pages that offer compensation to the author of this post.
More and more often, digital products like art, collectors items, and custom ebooks are being sold on Shopify. To accommodate, Shopify has made it much easier to sell digital goods but it can still be a struggle for first time Shopify store owners. Today you will learn 2 methods for selling Virtual products on your Shopify store.
Can you sell Virtual Products on Shopify?
Absolutely. Digital products are becoming more and more common as sellers and customers enjoy a more digital economy.
Shopify is one of the most popular ecommerce platforms because they frequently support up and coming product types. So if you are looking to sell digital goods like ebooks, NFTs, exclusive content memberships and more, Shopify is a great place to start.
If you are looking to get started on Shopify, check out the Everything you need to know before selling on Shopify guide.
Best questions to ask before selling Virtual products on Shopify
• Is this digital item a better item to supplement an existing product line?
• Are my customers asking for this?
• Will I accept refunds on this product?
• How will I safeguard the exclusivity of my digital product?
Do You need an App to Sell Virtual Goods on Shopify?
The short answer is yes. To best take advantage of the Shopify platform, you are going to want to use an app to sell your digital products.
But for specific digital products like ebooks, and pdfs, there are some secret work arounds you can implement to sell your digital goods on Shopify.
Best Apps for Selling Virtual Products on Shopify
If you are trying to sell digital products the same way you might sell a physical product, there are some great apps you can install very easily on your Shopify store. These apps come with the benefit of refunds, all in one management, and delivery customization.
Can you sell Sell Virtual Products without using an App on Shopify?
Actually, yes! Shopify has a built in product setting that allows you to sell non-physical goods just by disabling shipping on your product page.
However, for anyone selling their first digital products, it’s important you first answer these questions to learn if this method of selling will work for you.
Sell Virtual Products On Shopify Using EDP – Easy Digital Purchase
EDP is a great app for first time digital goods sellers on Shopify. It’s easy to use and has a free tier that allows you to sell 30 digital products per month for for free.
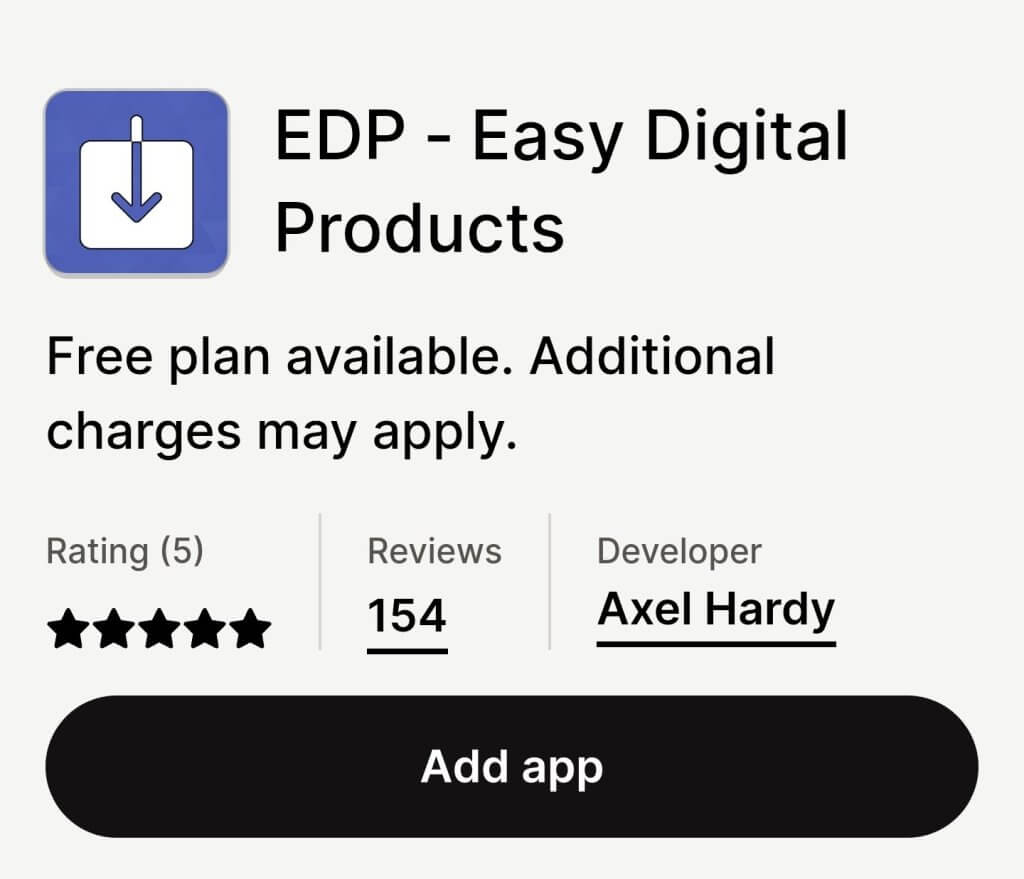
If you do need to go over the 30 orders allowed, it’s only $10 extra per month which is pretty conservative for an app store integration.
EDP boasts key features for their app like:
- Attach any files to your products or variants automatically
- Show customizable download buttons to customers
- Design custom emails for delivery
- Protect your products with advanced licensing
These are the features we think any first time digital seller needs to sell their products online.
Pros and cons to selling virtual goods without an app on Shopify:
Some of the downsides to this method are:
- No guarantee of product exclusivity. Once it’s out there, you are trusting your customers not to distribute.
- Longer initial setup stages.
- Canceled orders and refunds if done incorrectly.
But the upsides to using this method of selling digital goods are:
- 1: easily update, sell, and manage digital products without an app.
- 2: you will learn how to better manage your store.
- 3: You can use this method for better marketing on similar products you sell.
Sell Virtual Products on Shopify Without an App in 5 Easy Steps
Step 1: upload your PDF or digital good to your files.
In your Shopify settings, click on Files. Here you can upload any document, image or file you need to ask long as it’s under a certain size limit.
In this section, you will want to upload your digital products or digital good. You can do so from your desktop or even your mobile device if you have the Shopify mobile app installed.
Copy and Save your Shopify Digital Product link!
Once your file is done uploading, you will have a button you can click to copy the link to your products.
In a new browser tab, paste that link and go to it.
If you have done so correctly, this will now open your document in or digital good in the browser!
If it doesn’t work right away, don’t worry! Sometimes it takes a minute for Shopify servers to communicate with your store and display the document. Take a 15 minute break, then repeat steps 1 and 2.
Step 3: Create a New Digital Product.
Now that you have your file uploaded to your store and your store link, it’s time to create your digital products.
In your Shopify store, click on Products and create a new product.
In your product settings, make sure you disable shipping. This will tell Shopify that your product is a digital good.
Make sure to write a good SEO title and description for your product. If your digital good is recommended to purchase with another product in your store, make sure to include a reference to that product in your product description.
Make sure to save your product and set it as an active product on your store.
Step 4: Create a Delivery Method for your Digital Shopify Product.
At this stage, we have everything we need to sell a digital good, but we still need a way to deliver that digital products to your customers! Next up is fullfillment.
Make sure you have the following links ready to go!
1. Your digital products link
2. Your digital product created and available on your store
With those items ready to go, we are going to create a marketing automation that will send your customer the link to download your digital product.
A marketing automation is a free tool Shopify includes with most Shopify plans that allows you to send emails and targeted messages. Instead of sending a marketing or thank you email, we are going to send a “Delivery email”
In your Marketing settings, look for Automations. If you don’t have the option, you can always install the Flow app from the Shopify store to set your first automation.
Shopify flow for marketing automations.
In your automations, you will want to set up a single automation to trigger when someone purchases your digital products.
Once that is triggered, you will want to have an automatic email send immediately to your customer. Below is a good email template you can use on your store for digital products.
Hello {{CUSTOMER.NAME}}!
Thank you for purchasing our {{DIGITAL PRODUCT NAME HERE}}! Customers just like you have used this resource to {{ACHIEVE.CUSTOMER.GOAL}}.
Click here to download your copy of the {{DIGITAL PRODUCT NAME HERE}}
{{PASTE YOUR FILE LINK HERE FROM STEP 2}}
We hope you enjoy our product and if you have any questions with your order, please don’t hesitate to reach out to our customer support team at {{SUPPORTEMAIL@EXAMPLE.COM}}
Best,
{{CEO name here}}
Make sure to save and publish your automation to make sure everything is ready to go live!
Step 5: Test, Validate and finish Your Digital Product.
You should always test out your digital products to make sure no part of the process is left behind. Here are the most important parts to text and the best ways to test them.
Best methods for testing a new digital products:
• Set price to $0 and check out like normal
• Enable the Bogus Payment gateway and test the purchase process ADD LINK TO SHOPIFY BOGUS GATEWAY DOCUMENTATION.
On my Shopify stores, I always start by setting my text product to $0 and checking out normally. This won’t text the payment gateway but allows you test out everything else on your digital products including the marketing automation, the file link from step 2, and the email delivery mechanism.
If you need to test the payment method, you can test the payment by setting your product to a low cost and fullfilling the item or by enabling the built in Shopify BOGUS Payment gateway.
If you are selling NFTs, you will want to test your payment gateway using cryptocurrency too since this is a common method for purchasing NFTs.
Once you have tested and verified all the steps are working properly, you should be good to go! Please leave any comments with questions!
Bonus step for store owners: Make sure to update checkout language for Virtual / Digital Products
To help reduce your canceled or refunded products, I highly recommend including a refund policy link or a statement acknowledging no refunds accepted on digital goods.
Once a digital good is in the hands of your customer, its usually impossible to get it back. That means once it is sold and out in the world, it can be circulated and distributed for free.
But don’t let that stop you from selling digital goods. Instead, be clear about your refund policy on digital products. I recommend a “no refunds accepted” on any product where the good has already been delivered.
Thanks for reading! If you like this post, consider subscribing for more tips on Shopify, ecommerce and digital marketing.
Thanks for reading to the end of this post. If you find the information I provide to be helpful, please consider subscribing.
Disclaimer: None of the information presented on this site constitutes legal, business, tax, or medical advice. In each scenario, it’s recommended to first chat with a medical, legal, business, or tax professional before making any decisions.